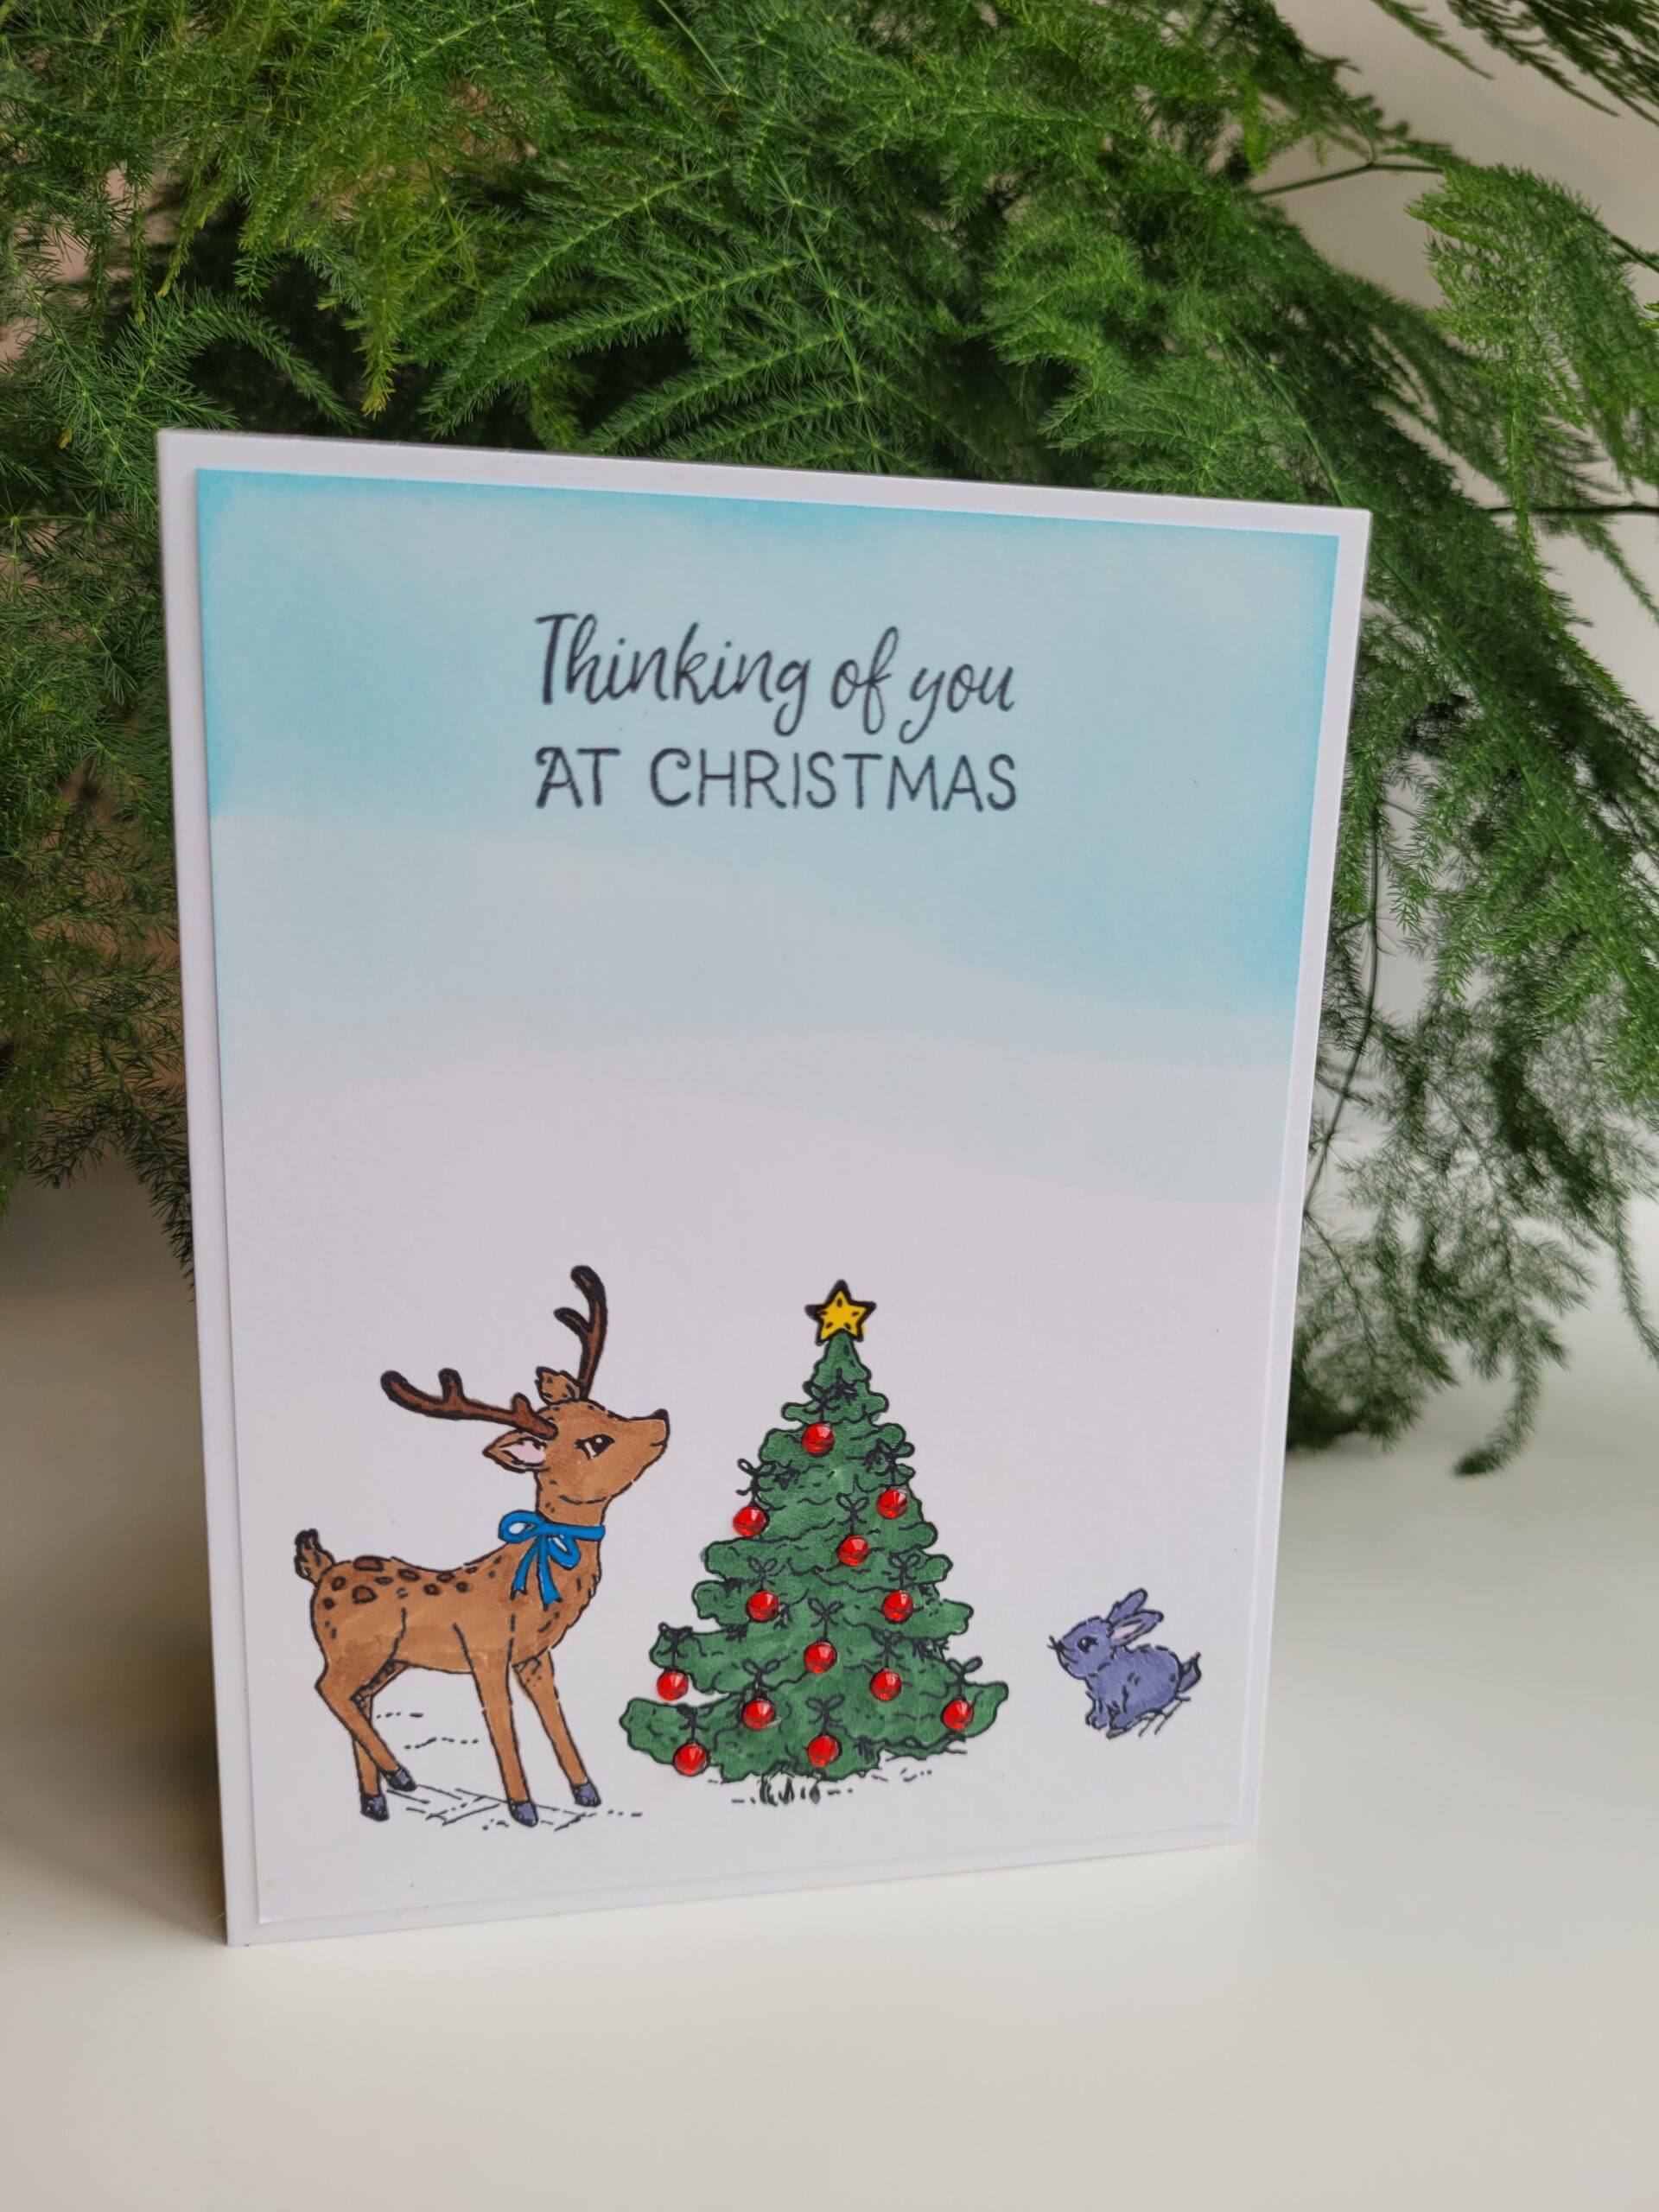
This card was actually inspired by a little diamond art kit I found at the dollar store. Inspiration can truly come from anywhere. When I saw this diamond art kit with its shiny gems, I instantly thought of a Christmas tree stamp I had at home that had little ornaments all over it. The gems seemed like the perfect size for the ornaments. I was especially attracted to the red gems.
I used one of my A2 card bases that I had previously made from Recollections 110lb white cardstock. I used the same cardstock to make a 4 x 5 ¼ inch panel.
Using my MISTI for stamping, I stamped a cute little deer, bunny, and Christmas tree on the panel using VersaFine Clair nocturne ink. I wanted the scene to look like there was a snowy hill and blue sky, so I masked off a slightly curvy line towards the top using cardstock. With my domed foam blending tool and some Tim Holtz distress oxide tumbled glass ink, I blended the sky, moving the cardstock mask a few times to give the look of multiple hills in the distance.
Now for the hard part. Well, it was hard for me because I’m not so skilled at coloring. I used copic markers to color the images. I used a yellow gelly roll pen for the star on the tree and a blue gelly roll pen for the ribbon around the deer.
Next was the fun part of adding the beautiful, shiny red gems to the tree. They fit perfectly! I glued them down using Bearly Art glue. I love how this tree looks with the shiny gems.
I found a cute sentiment in my small stash of Christmas stamps that worked great for this card. I stamped it using VersaFine Clair nocturne ink. I find that ink is perfect for stamping sentiments. They always come out so clean and crisp.
The final step was to adhere the card panel to the card base using Forever In Time glue tape runner. I was really happy with how this card turned out. I’m sure I’ll be using those cute little dollar store gems on future cards.
I have a newsletter! By subscribing, you can stay up to date with my newest designs and techniques. I will not spam, I promise, and you can unsubscribe at any time.


Leave a Reply