I’ve really been in the swing of making Christmas cards lately. Partially because it’s that time of the year and partially because I have so many to make, and I left it till now for the most part. But I do love Christmas, so I’ve been enjoying making cards while having a Christmas movie on in the background.
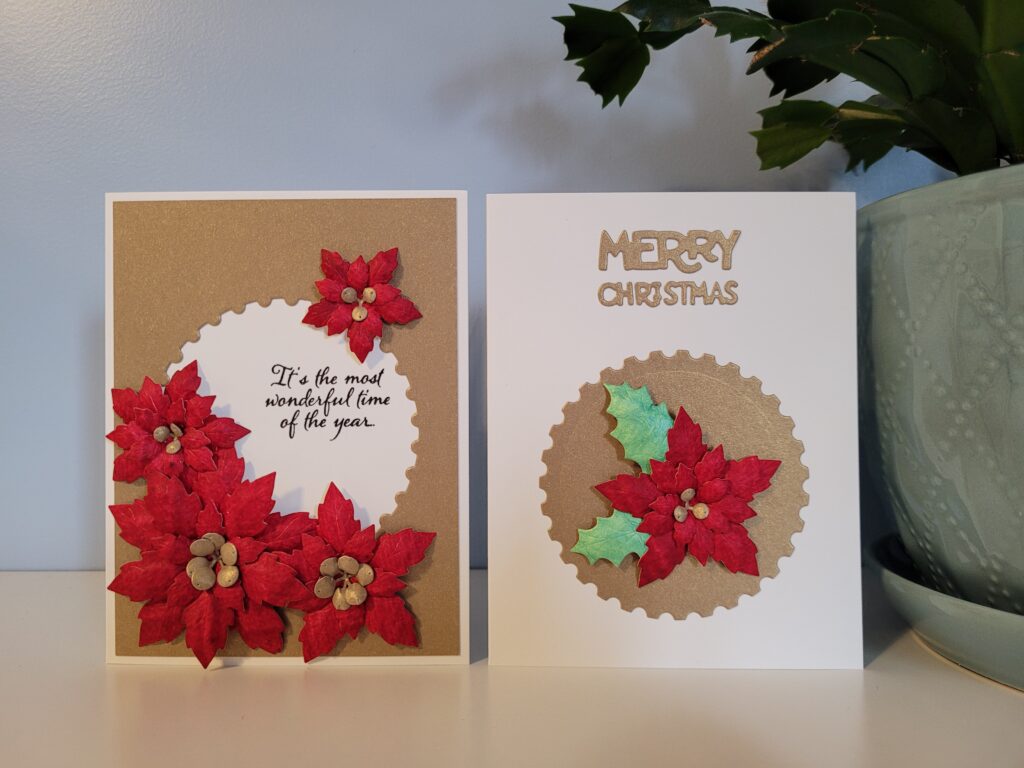
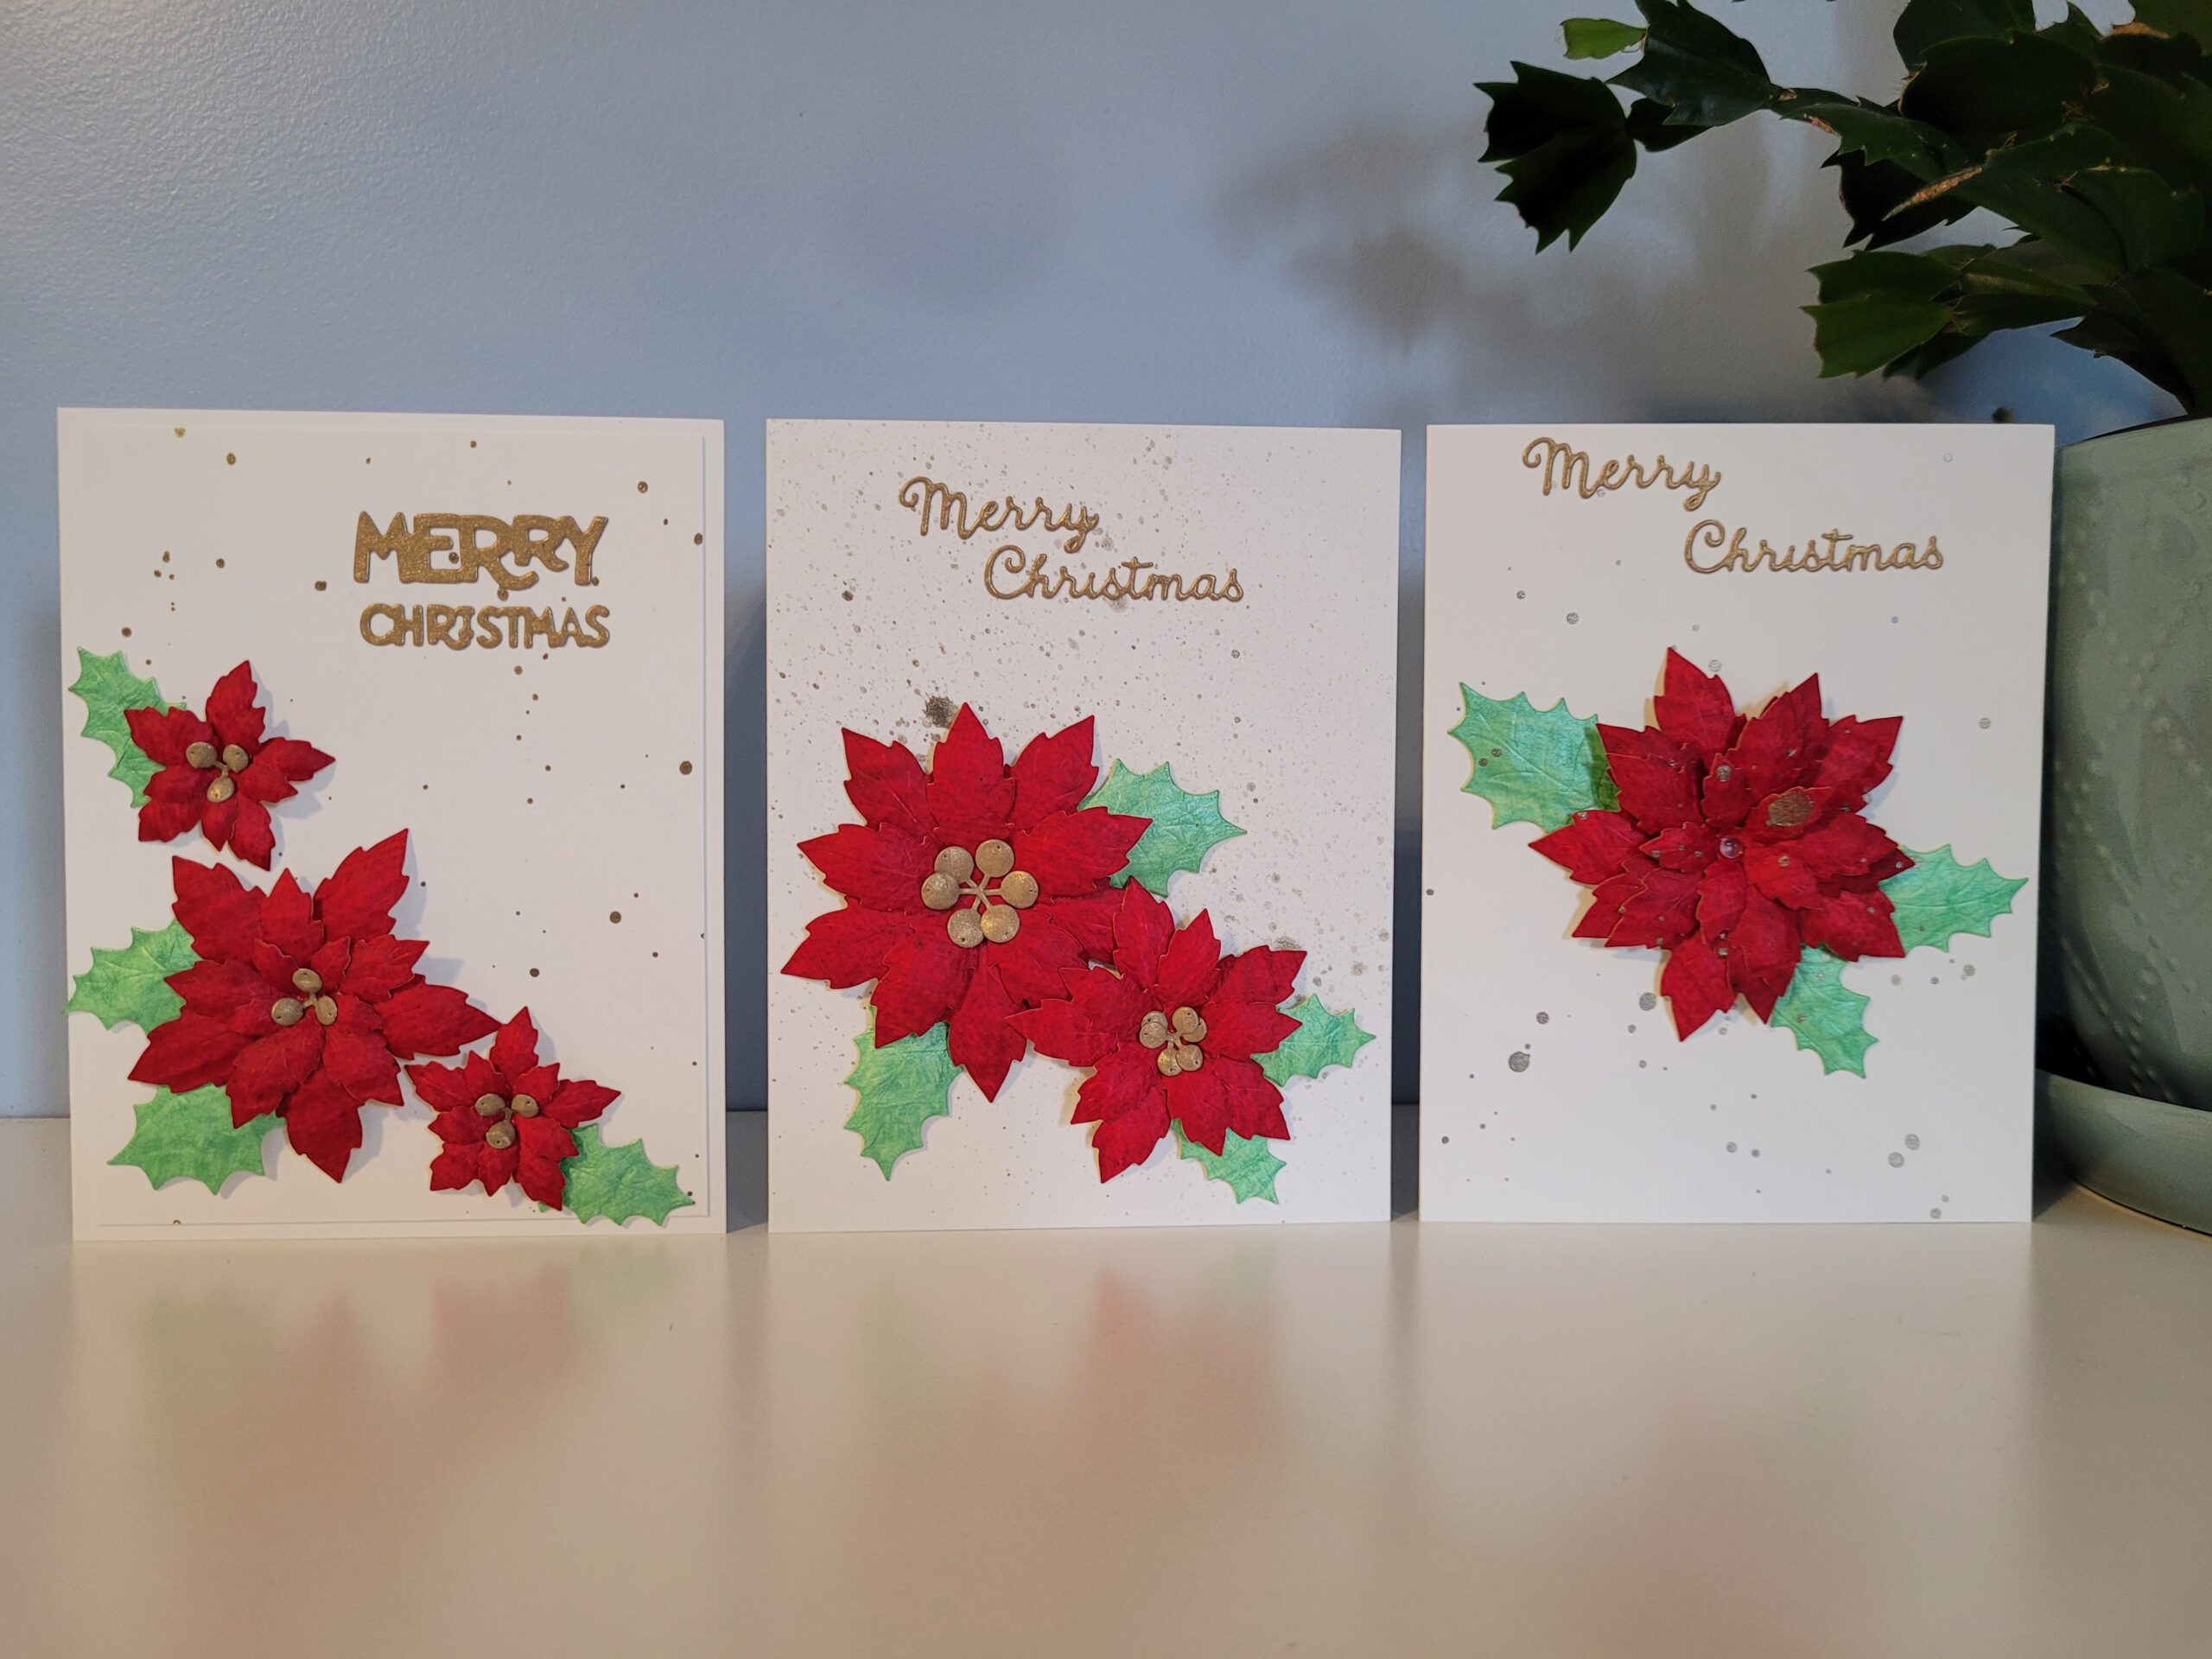
Yesterday I made several 3D poinsettia cards and I’m very pleased with how they turned out. I used a beautiful flower die by Elizabeth Craft Designs called Florals 29. It has several sizes of flowers and leaves with a couple sizes of centers as well. Really, this die set can be used to make flowers of any color, but I figured it worked really well to make poinsettias.
Sometimes when I’m making flowers I’ll cut them from white cardstock and used a couple different inks to color them. Instead of doing that, I found some really cool textured scrapbook paper to use. I actually picked up this paper at a garage sale this summer. If you know me, you know that I don’t really need more scrapbook paper as I probably have enough to last me a lifetime. But, this box of paper was two dollars and there were hundreds of sheets in it, with probably 50 or so sheets of funky, textured paper that I figured I could use someday. Now I’m really glad I grabbed it as this paper worked so perfectly for these flowers!
So, I cut out a whole 12×12 page of flowers with the red textured paper and about half a page of leaves from the green paper. For the centers, I used a sheet of 6×6 paper I picked up at Dollarama a while back. It has several different shades of gold. I also used that gold paper to die cut the sentiments as well as using it for background panels on a couple of cards.
After I cut all the pieces out with my Gemini Jr, I used an embossing stylus and a foam mat to give texture to all the pieces. If you’ve never done this before, it’s really easy. Just lay the pieces upside down on the foam mat and use the stylus to rub on the pieces in a circular motion. This gives texture to all the pieces and makes the flowers look more lifelike. Any pieces that have a center, like the flowers and the centers of the flowers, I turned them over and used the stylus to press the center in.
Once all the pieces were given that 3D effect, it was time to glue them together. With this die set having so many sizes of flowers, you can mix and match the pieces to get several different looks. I used my Bearly Art glue to glue the flowers together and attach leaves to some of them. I added the gold centers to most of the flowers, but I did leave a few without and I added water droplet gems instead.
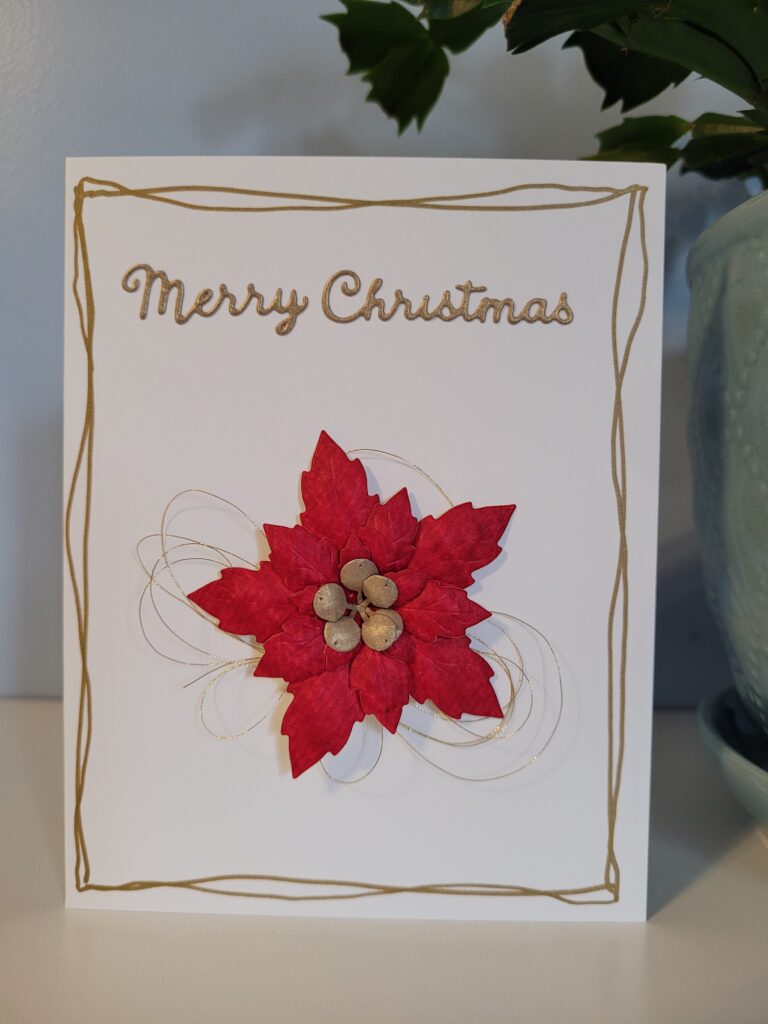
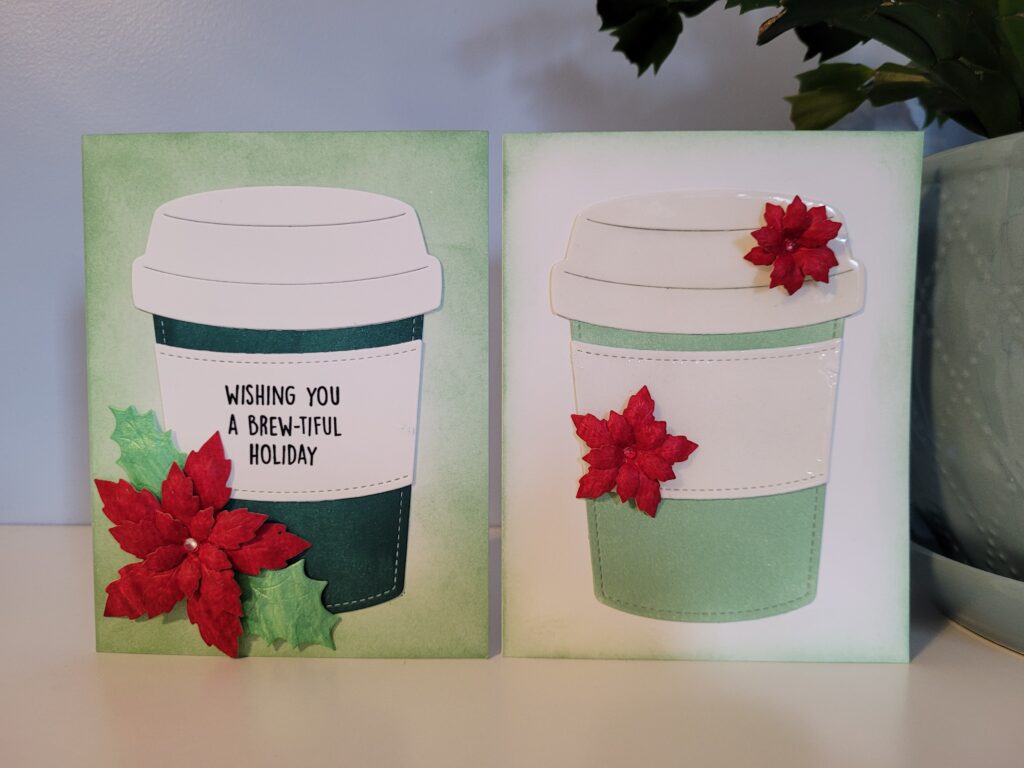
I put the cards together in a variety of ways. Some I spritzed Tim Holtz distress mica spray (tarnished brass) on the card base, some I used the gold cardstock as a background, some I used the Lawn Fawn coffee cup gift card holder die to make festive coffee cards, and one I added gold thread and gold wonky lines with a marker.
These cards were a lot of fun to make, and I am so impressed with how they turned out. This floral die set will get a lot of use, I’m sure. Now I’m off to make more cards. I hope you enjoy your holiday preparations as much as I’m enjoying mine!
I have a newsletter! By subscribing, you can stay up to date with my newest designs and techniques. I will not spam, I promise, and you can unsubscribe at any time.

Leave a Reply