Hey friends! It’s been a few busy months since I’ve written a blog. We finished the renos on my overflow craft room. It’s exciting for me to have two rooms next to each other where I can create and store my supplies in a more convenient way. We also had friends from the States and Switzerland here for a wonderful visit. Since then, I’ve been working consistently in my craft room, creating cards, making YouTube videos, and posting pictures. Now I’m working at being consistent with the blog side of things again as well.
Today’s card is my first ever shaker card! It’s something I’ve wanted to try for some time now but honestly, it’s something new so I was feeling a little overwhelmed. Do you ever feel overwhelmed with new things? I think a lot of us do, but the only way to get past that is to just step out and do it. In all reality, it wasn’t nearly as intimidating as I’d made it out to be. I think that’s often the case. We are far more capable than we give ourselves credit for.
To create this shaker card, I made an A2 card base from white 100lb cardstock. For the panel, I used a white shimmer cardstock and cut it to 4 x 5 1/4 inches. I embossed the panel using a diagonal striped embossing folder by Park Lane.
Next, I used the nesting hearts dies by Prism Studio and lined the second largest heart onto the center of the panel. I secured it with washi tape and ran it through my die cutting machine to create the window for the shaker. On the back side of the panel, I taped a small piece of clear packaging that I cut to fit a bit larger than the window.
I chose sequins for the shaker bits as I really don’t have shaker supplies (although that may change since I know I can make these kinds of cards now). And I’m sure there’s an easier way to put it together than how I did it. It did work though. I added foam tape all around the heart and then all over the rest of the panel. My plan had been to put the sequins in the heart space and then add the card base on; however, since the panel is smaller than the base, I was pretty sure I wouldn’t get it lined up straight and would end up with a crooked card. So, I lumped the sequins up on the card base where they’d fit in the heart, then removed all the backing from the foam tape and adhered the panel onto the base. The one thing I forgot to do was a tip I saw from someone online about rubbing a bit of cornstarch or antistatic powder along the edges of the foam tape so no shaker bits will accidentally stick to the foam. I do have a couple of spots where there are sequins stuck to the foam, but I’m really not bothered by it, especially for my first shaker card. Hopefully I remember to do it next time.
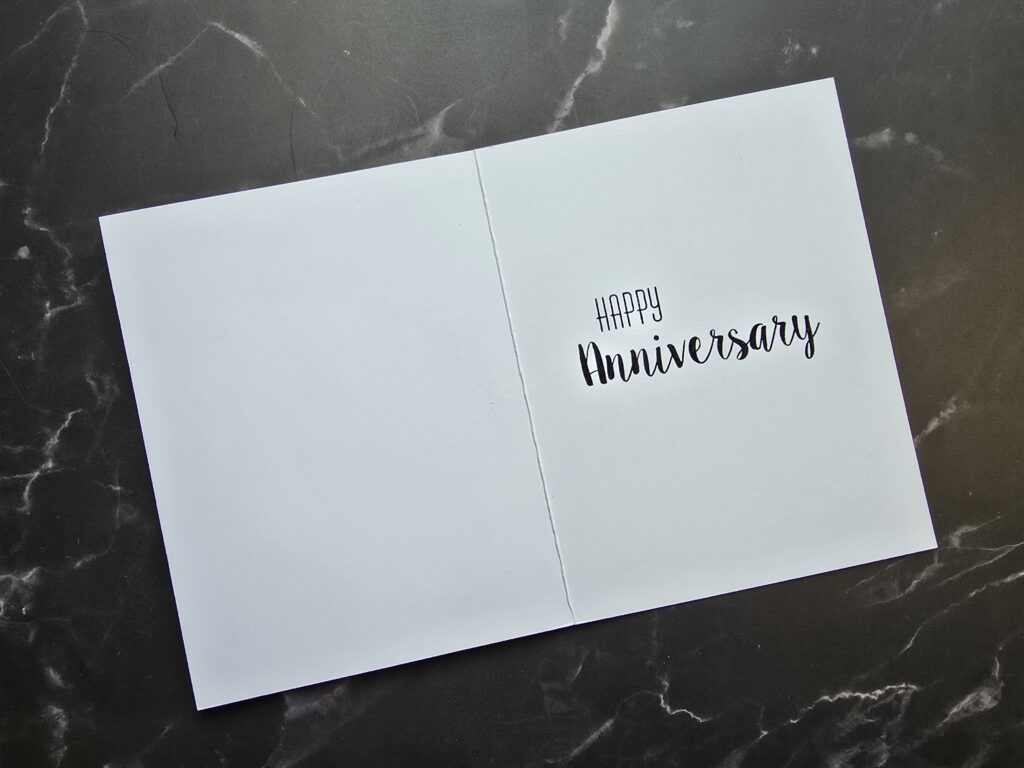
For the sentiment, I die cut a banner from the Sentimental Banners stamp and die set by Poppy Stamps. I stamped ‘sending love’ on it and heat set it with Wow silver embossing powder. I added it to the bottom of the card below the heart. On the inside I stamped ‘Happy Anniversary’.

This card was fun to make and a lot easier than I expected. I hope this encourages you to step out and conquer that thing that’s felt overwhelming or intimidating to you. You’ve got this!
I have a newsletter! By subscribing, you can stay up to date with my newest designs and techniques. I will not spam, I promise, and you can unsubscribe at any time.


Leave a Reply