In life and in crafting it’s good to stretch ourselves at times. Don’t be afraid to try new things. Sometimes they work, sometimes they need a lot more practice. This card was one of those new things that worked.
I made this card as a part of the fall design team for my local scrapbook store, Aall Scrapbook Essentials. I highly recommend checking them out here Aall Scrapbook Essentials – Home or visiting the store if you’re in the Kamloops, BC, area.
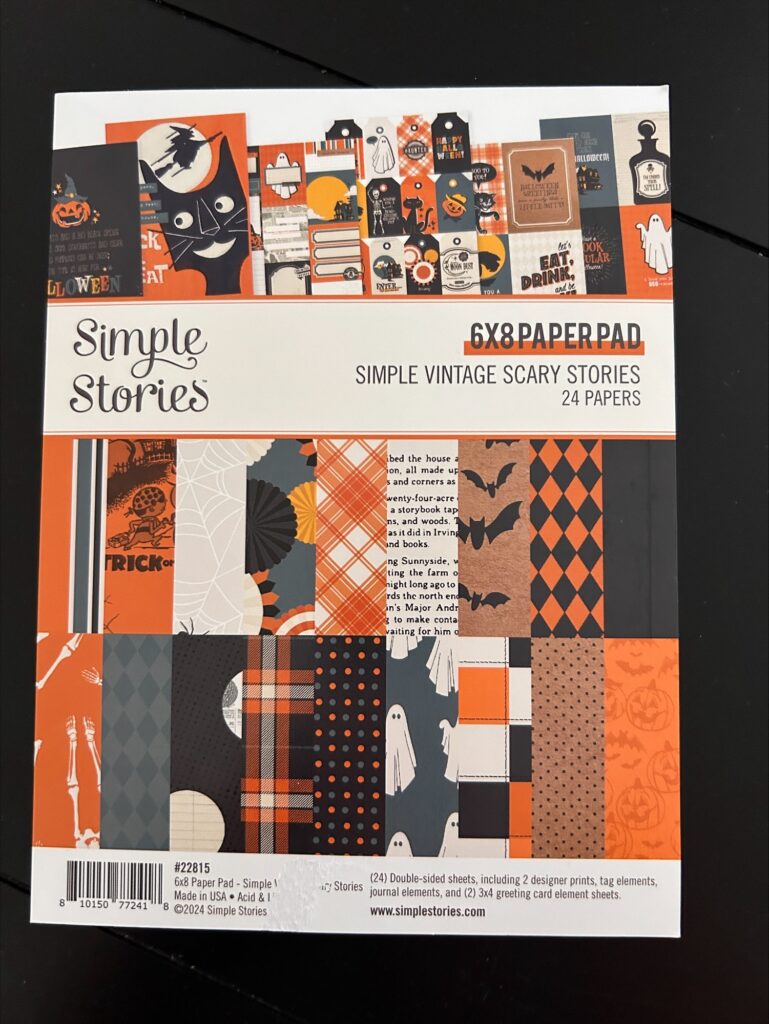
I used very few products to make this card. The star of the show is this paper pack by Simple Stories called Simple Vintage Scary Stories. The only other products I used were white cardstock, a trimmer/scoring tool, and glue.

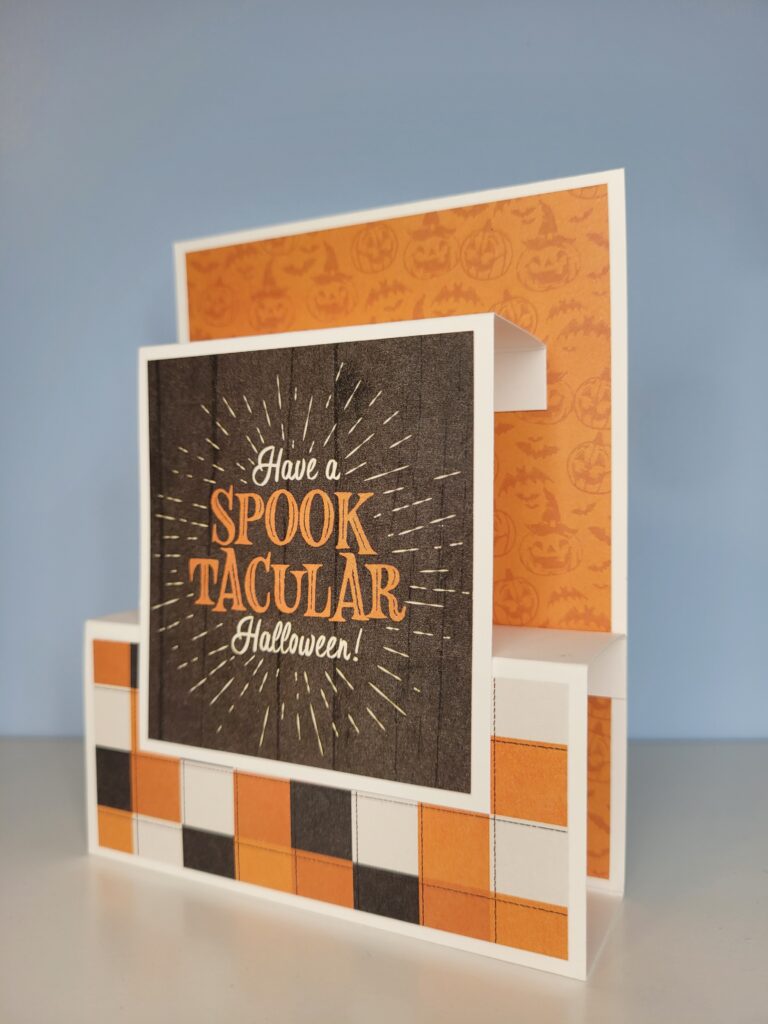
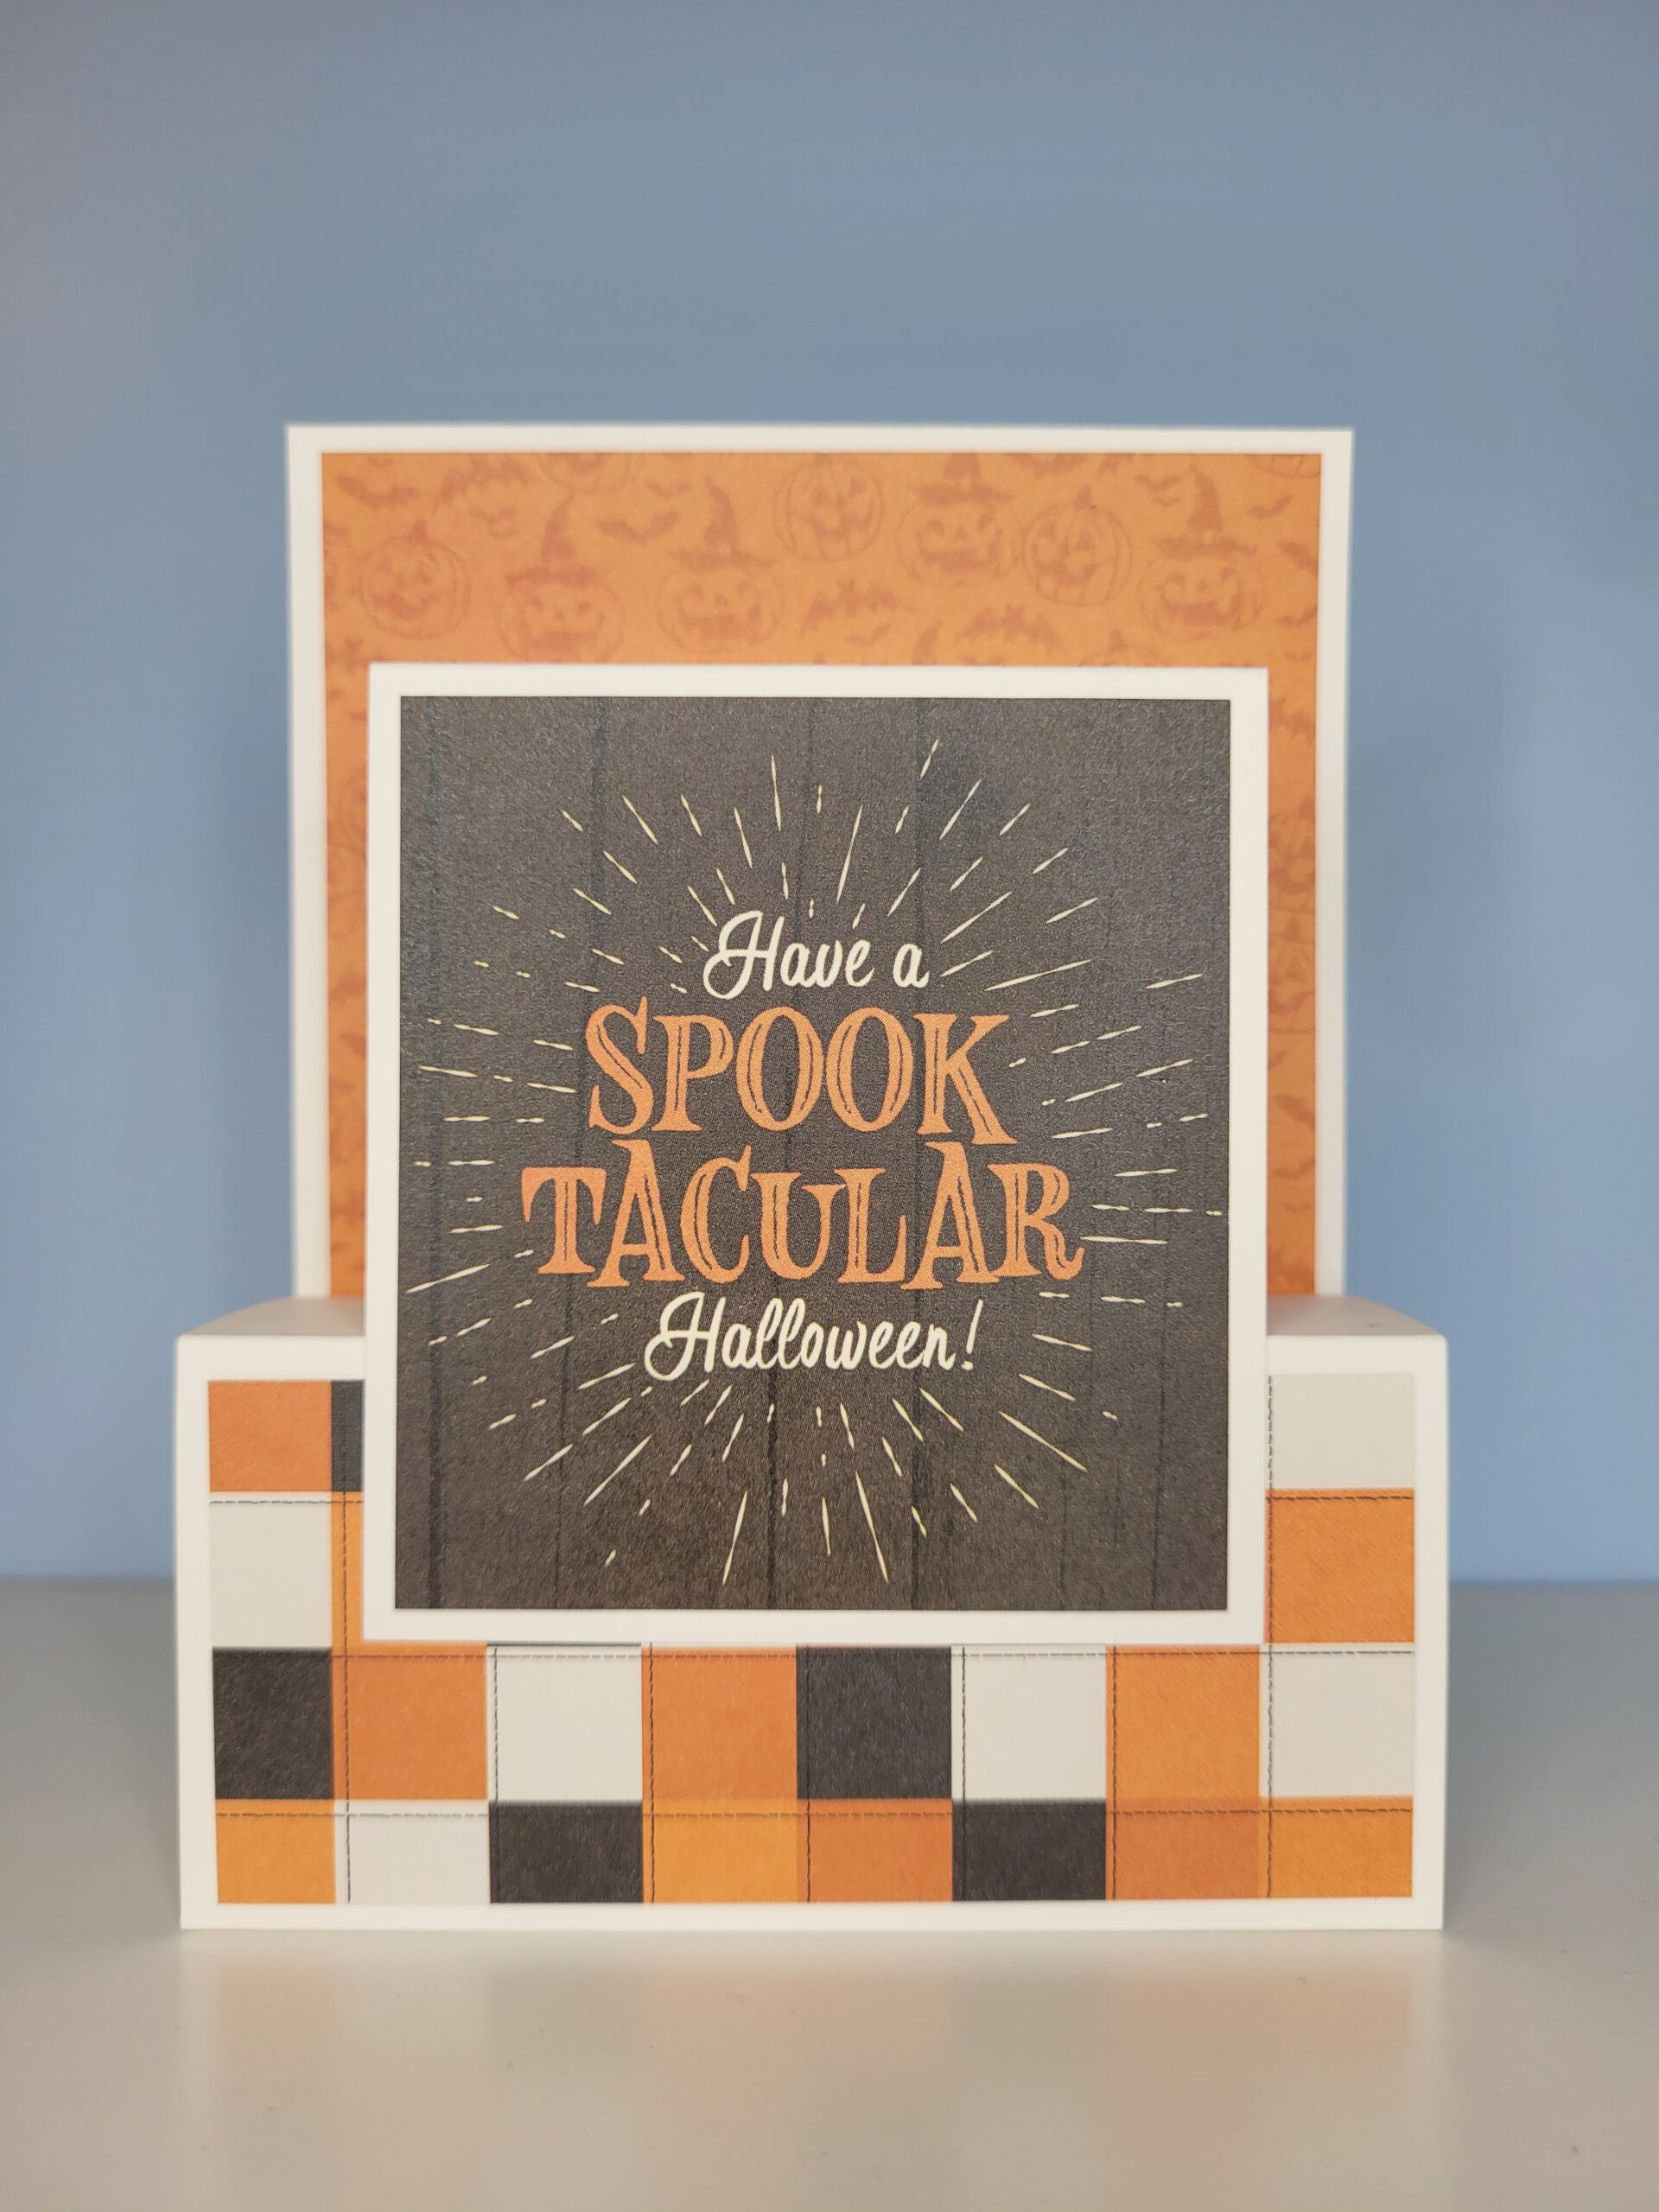
This kind of card is called a double box fun fold card. I researched a few different fun fold cards to see which kind would showcase this beautiful paper the best. I cut white cardstock to 10 ½ x 4 ¼ inches and another piece to 5 ½ x 3 inches. Laying the longer piece horizontally, I scored it at ½ , 1 ¾ , 3 ¾ , and 5 inches then folded and burnished all the folds. Laying the smaller piece horizontally, I scored it at ½ inch and 1 ¾ inches and folded and burnished.
Next, I took the paper pack and chose a paper with a sentiment to be the focal point of the card. I cut it to 3 x 2 ¾ inches. I chose another patterned paper and cut it to 5 ¼ x 4 inches and another patterned paper cut to 1 ¾ x 4 inches.

Now, laying the largest piece of cardstock vertically, I glued the largest piece of patterned paper in the largest section, centering it so there’s a white border around the patterned paper. I then folded the cardstock up, so it looks like a box shape, gluing the ½ inch piece to the patterned paper. Next, I glued the 1 ¾ x 4 inch patterned paper to the raised section, leaving a white border around it. I then took the smaller piece of cardstock and glued the paper with the sentiment into the largest section, again leaving a white border. To attach it to the rest of the card, I laid the card on its back and folded the box up, so it was flat. Next, I took the small piece and folded along the score line so only the sentiment was showing. Lining the top of that cardstock to the top of the main card and making sure it is centered left to right, I applied glue to the inside bottom of the sentiment area and adhered it to the box of the main card. I then applied glue to the back of the ½ inch strip and pressing it flat, adhered it to the card. Then I simply bent it back into a box shape so it stands up.
This was a fun card to make and really quite simple. I hope you were able to understand my instructions so you can try a card like this on your own if you’ve never made one before. It’s fun to try new things now and then.
I have a newsletter! By subscribing, you can stay up to date with my newest designs and techniques. I will not spam, I promise, and you can unsubscribe at any time.


Leave a Reply